YouTube Video Tracking with Google Tag Manager, Zapier, and InfusionSoft/Keap
I recently worked on a project that started out with an InfusionSoft/Keap Campaign. My client wants to send out a series of emails, with each one containing a link to an InfusionSoft/Keap landing page containing a video. She wants to know whether the contact watches 90% of each of the videos. The videos are unlisted on YouTube.
After much searching, I found out that I could use Google Tag Manager for video tracking. GTM would then send the information to a Zapier webhook, which would then send the information to InfusionSoft/Keap.
Here is how I set it up:
InfusionSoft/Keap Steps:
In InfusionSoft/Keap, create the tag, such as Watched_Video. Using the new Landing Page Builder, create a landing page with a YouTube video embedded. Do Not Use the Video element for the video – use an HTML block and paste the embed code for the video into the block. It didn’t work using the Video element because IS reformats the URL that you paste into the Video element and then for some reason, Google Tag Manager can’t pick up on the video event.
When the Landing Page is complete, copy the Landing Page URL. Next, create an email. In the email, create a hyperlink to the Landing Page by pasting the Landing Page URL. Append the following to the URL:
?Email=~Contact.Email~
This will ensure that the contact’s email address can be picked up by Google Tag Manager and then passed back to Zapier and then to IS.
Zapier Steps
In Zapier, create a Zap. Step 1 is Trigger – Webhooks by Zapier. Choose Catch Hook.
Pick off a Child Key – leave blank.
View Webhook – looks like https://hooks.zapier.com/hooks/catch/1111111/pochxn/
Step 2 is Action – Infusionsoft App
Set up Infusionsoft Tag Existing Contact
Email (required)
Tag Names – it will go look for the tag in IS – in this example, the tag is “Watched_Video”.
Google Tag Manager Steps
Go to tagmanager.google.com, and create an account if you don’t have one.
It will give you script code that goes in head and in body of the page that contains the video, so go back to InfusionSoft and edit the Landing Page. In the last step (Launch), there are places to add code that goes in the Head and Body sections. Paste the GTM script code in those sections.
Create a container.
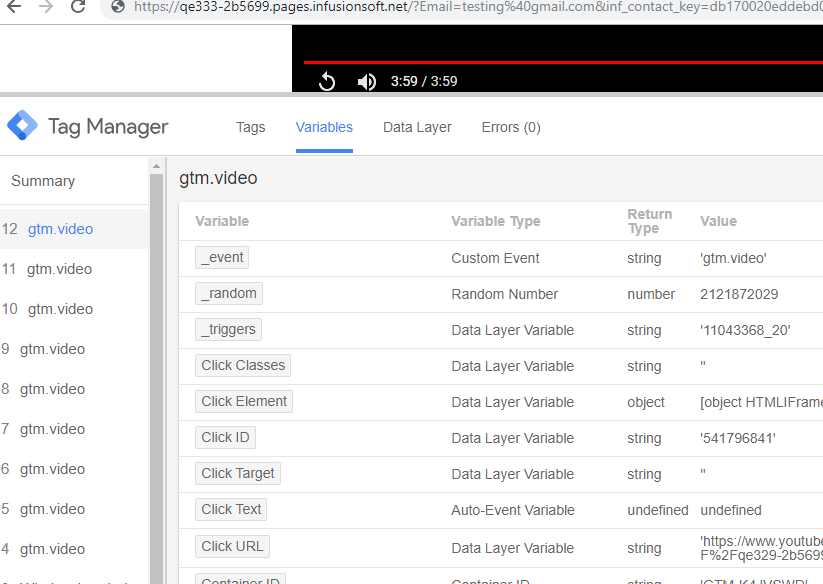
Configure the variables – they are not all turned on for the container by default. Once they’re turned on, then you can choose from them. To Configure them, go to Variables>Configure and then check them all off.
Create a custom user variable such as user_EmailAddr1
This is used to hold the contact’s email address and send it to Zapier.
Variable Type is URL.
Component Type is Query.
Query Key is Email (note that case is important here – look back at the text that we appended to the Landing Page URL – we used ‘Email’ not ’email’. So make sure to type it in correctly)
More Settings – Page URL/Default
Check the box URI-decode cookie
For now, you will have to leave “References to this variable” blank because we haven’t set up that tag yet. Once that tag is set up, come back here and make sure to enter the new tag as the Reference for user_EmailAddr1.
Create a Trigger
Give it a name, such as Watched Video 1
Select Trigger Type – YouTube Video
Track Start, Complete, Progress – put in 90 for 90 percent
Under Advanced, check this box: Add JavaScript API support to all YouTube videos
Trigger fires on some videos
Video URL contains – get the unique code from the video’s url, such as iNUGeTXXyTA
Video Percent greater than or equal to 90
Save
Create a new Tag called user_EmailCookie1.
Tag type is Custom Image (we’re not using an image, but this option handles URLS, which is what we need)
Image URL is the hook from Zapier: https://hooks.zapier.com/hooks/catch/1111111/pochxn/?email={{user_EmailAddr1}}
Append this to the URL: ?email={{user_EmailAddr1}}
That will send the email address of the contact to Zapier
Make sure to use the Custom User Variable that you created
Check the box Enable Cache Busting
Parameter should be gtmcb (not sure why, this was the default value)
Advanced settings should all be blank
Set the firing Trigger to be the one you set up.
Everything is set up now. Make sure everything you set up has been Saved, then Publish it.
Testing
Use Chrome Extension “Google Tag Assistant” to watch it in action.
GTA will show up automatically at the bottom of the page you’re testing since it detects the GTM script in the page.
If not, just click the GTA icon in the bar.
You should see the actions taking place and the tag being executed. Check in Zapier to ensure that the task was completed. Check in IS to make sure the contact was tagged.
Thank you to AKATheAlchemist, who has a video that explains the same type of setup.
No Comments